
Printer Settings
Setting up your printer correctly in Orca Slicer is the key to fast, accurate, and damage-free printing. With the right configuration, your 3D models can print smoothly without needing professional adjustments. Orca Slicer comes with built-in tools that let you fine-tune your printer according to your project’s requirements, helping every print come out just right.

Air Filtration / Exhaust Fan Handling
If you use external air filters or exhaust fans to control VOCs and UFPs inside your printing chamber, you do not have to worry about manual setup. Orca Slicer already supports that. You can manage your air-handling units directly from the software using its built-in commands. No extra plugins or third-party tools are needed. It is clean, simple, and efficient.
Read more: Air Filtration / Exhaust Fan ControlAuxiliary Fan Settings
Auxiliary fans help improve print quality by cooling the filament right after extrusion. Getting these settings right is essential because it prevents warping and sagging while improving print speed. Orca Slicer lets you configure auxiliary fan settings in the same place where you manage slicing and printer setup, so everything stays synced.
Chamber Temperature Control
Chamber temperature plays a major role in print quality. Each filament material reacts differently to heat, and even small temperature changes can cause poor adhesion or layer separation. With Orca Slicer, you can choose ready-made presets or create your own temperature profiles. The software keeps chamber temperature steady without the need for external monitors, so prints stay consistent from start to finish.
Read more: Chamber Temperature ControlAdaptive Bed Mesh
The bed mesh acts as the foundation for your 3D print. If it is uneven, even slightly, it can throw off the whole model. Orca Slicer’s Adaptive Bed Mesh feature maps your print bed and adjusts for surface irregularities. That helps ensure the first layer sticks well and reduces dimensional errors later on.
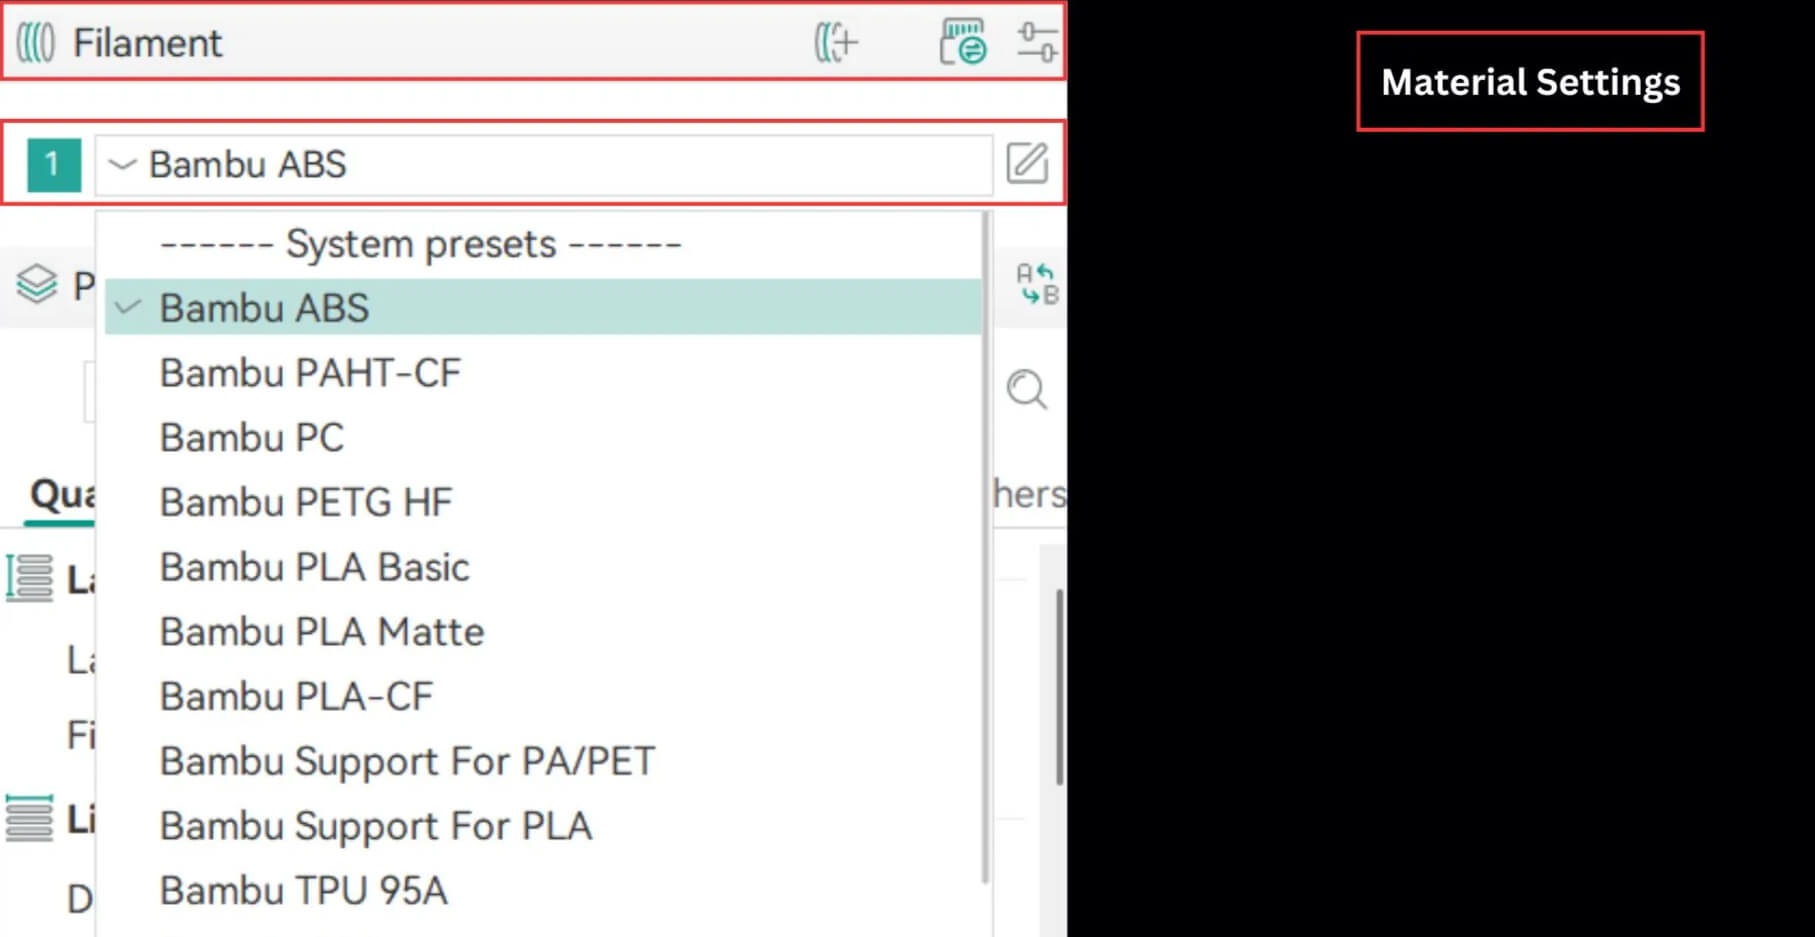
Material Settings
Every 3D printing material has its own personality. Some need higher temperatures, others print better at slower speeds or with more cooling. Getting these details right matters more than most people think. The right combination of speed, temperature, fan control, adaptive bed mesh, and bed type can make your prints look professional and precise. If the settings are off, the results can be frustrating and even cause wear on your printer. Here’s how to configure your setup in Orca Slicer based on the material you’re using.
Single Extruder Multimaterial
Printing with multiple materials on a single extruder takes a bit of planning. You’ll need to fine-tune the settings for the prime tower, ramming process, and filament changes. These determine how the printer handles color transitions and material swaps while keeping the print clean and stable.
In Orca Slicer, you can set the exact position of the prime tower, manage ramming temperatures, and adjust filament change speeds. You can also modify these controls anytime during a print. This flexibility helps you keep transitions sharp, avoid stringing, and maintain consistent print quality even in complex, multi-color models.
Read more: Single Extruder MultimaterialPellet Printers (Pellet Flow Coefficient)
Large-format 3D printers often use pellets instead of filaments. The process feels similar to traditional FDM printing, but the material behavior and flow calculations are different. Instead of measuring material by volume like with filaments, pellet printing uses a flow coefficient to determine how much material moves through the extruder.
Understanding this distinction is key to accurate calibration. Once you grasp how pellet flow differs from filament flow, you can fine-tune your settings to achieve precise layer control, consistent output, and smoother finishes across big prints. Orca Slicer helps you handle these parameters easily, so your large-scale prints come out strong, clean, and dimensionally accurate.
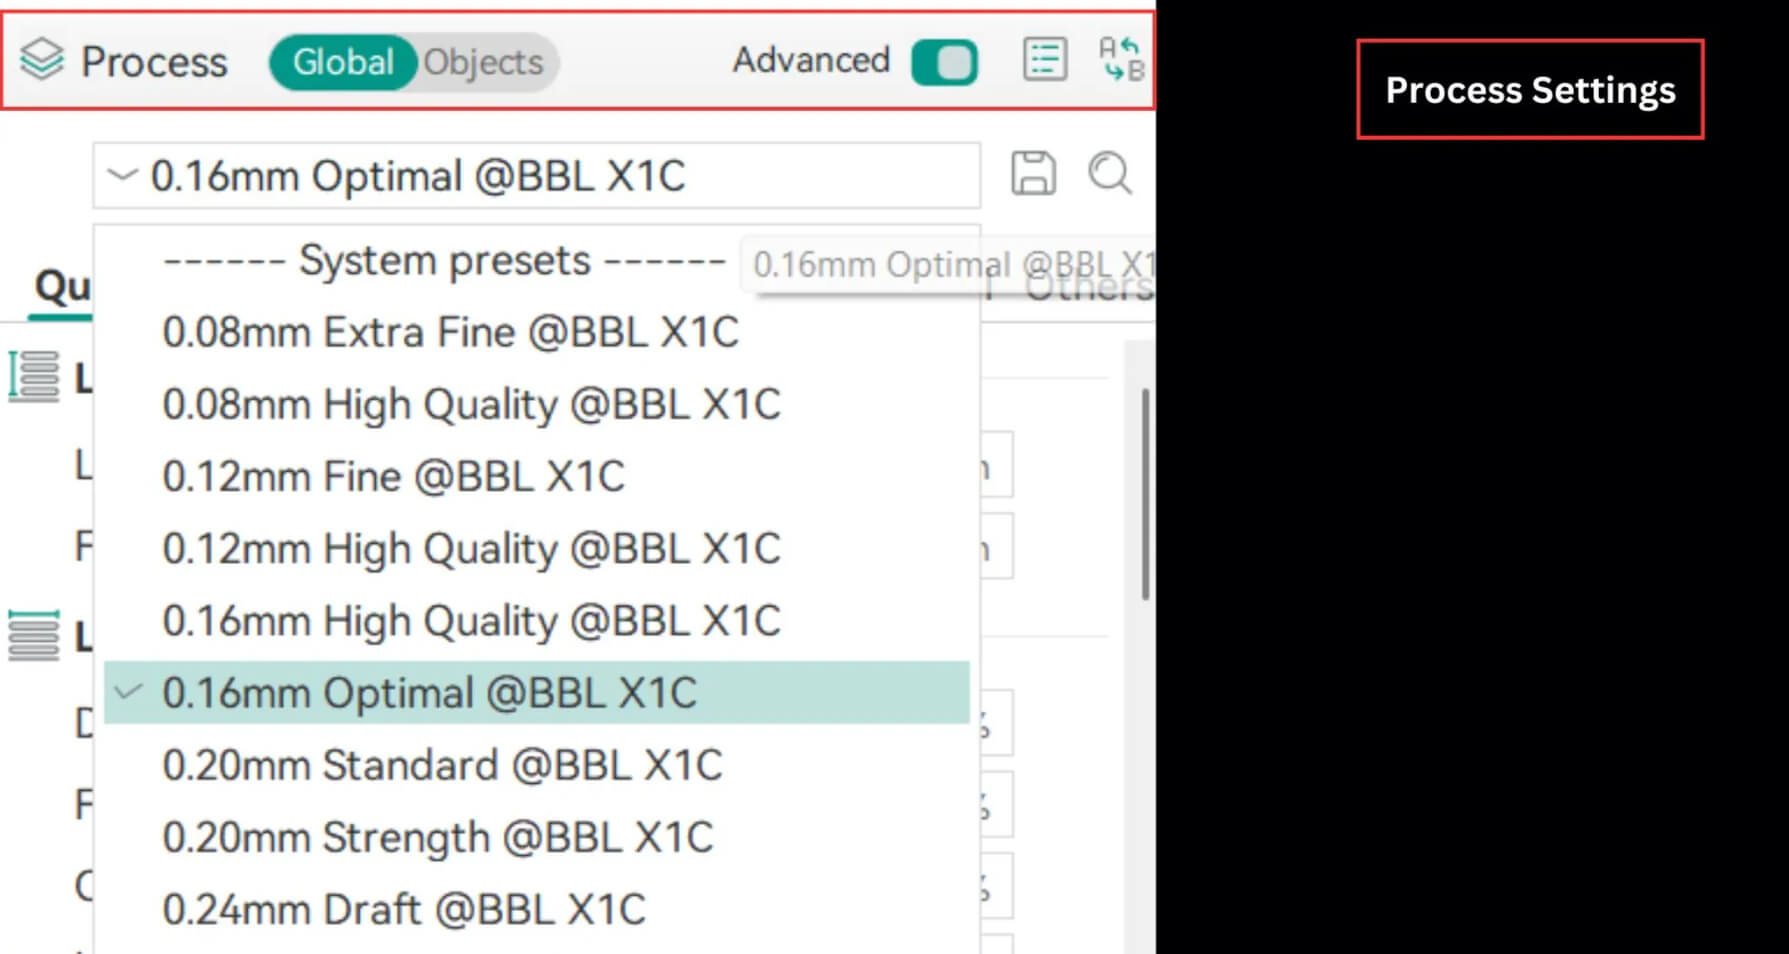
Process Settings
Once you’ve configured your printer, fan, auxiliary fan, speed, and material parameters, it’s time to define the process settings that control print quality at every stage. These settings act like checkpoints, helping you track and improve every detail of your 3D print. Let’s go through them one by one before starting your first print in Orca Slicer.
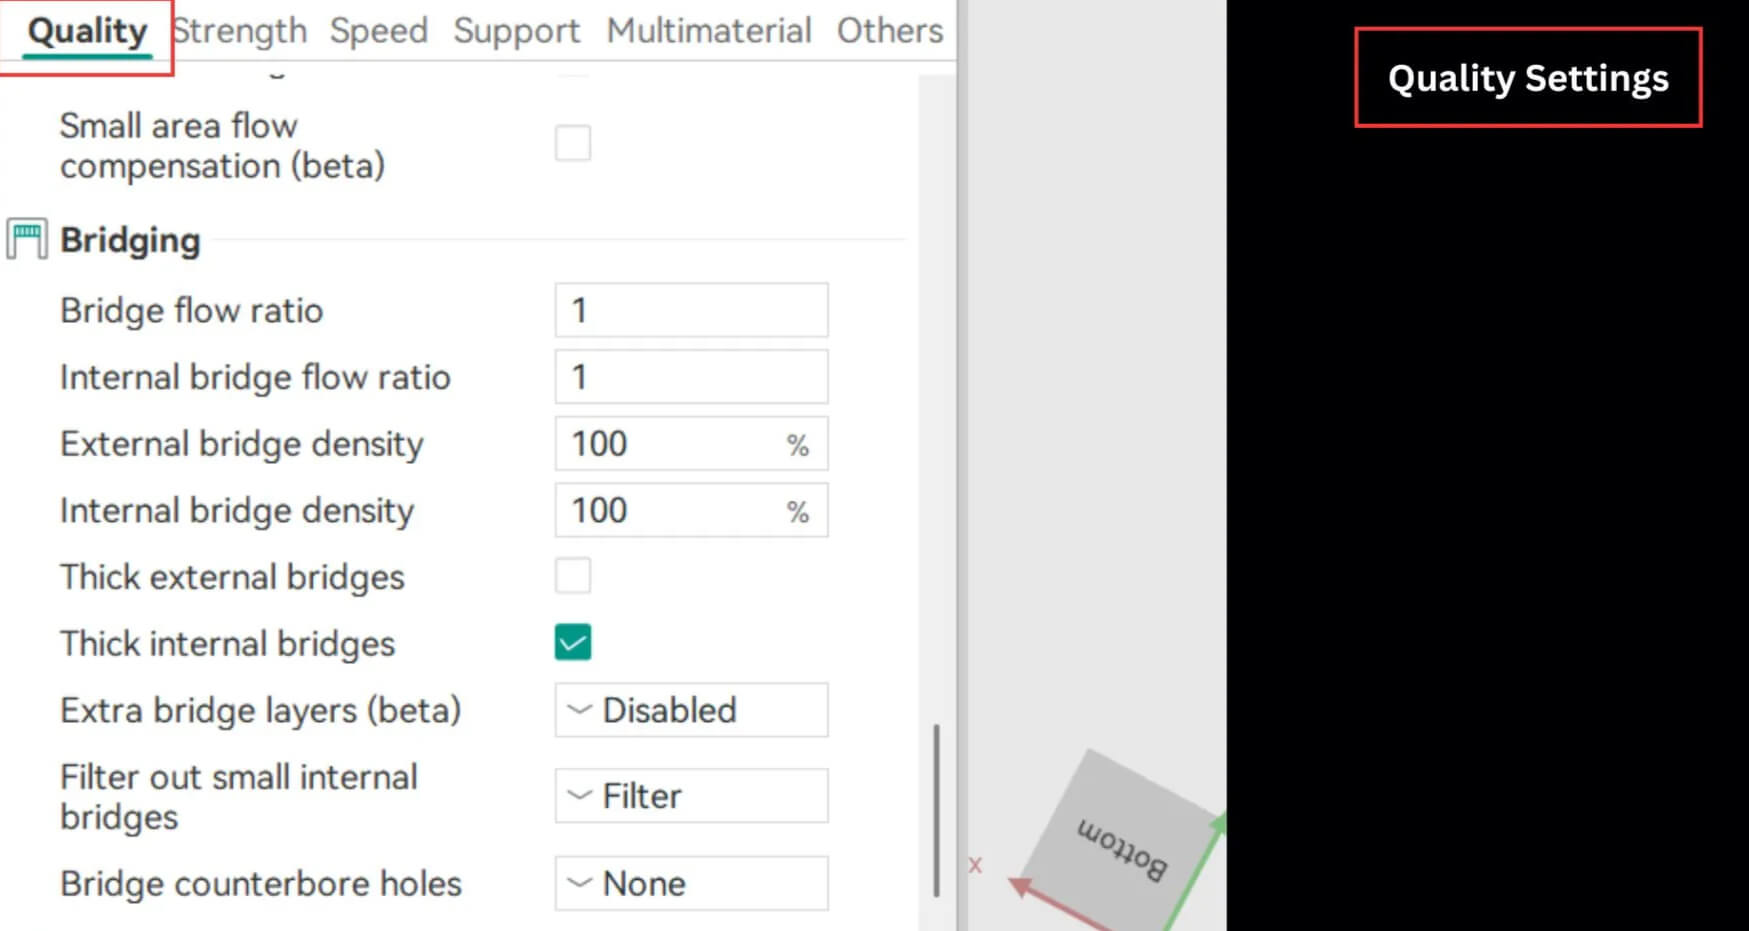
Quality Settings
These settings decide how your final print looks and feels. Every small change you make affects the texture, sharpness, and overall appearance of your model. Paying attention here means fewer post-processing fixes later.
Layer Height
Layer height plays a huge role in how detailed your print looks. Smaller layer heights result in smoother finishes and finer details, while larger heights print faster but with a rougher surface. The key is finding the right balance between speed and visual quality.
Read more: [Layer Height Settings]
Line Width
Line width controls how thick each line of extruded filament is. You can set it as a fixed diameter in millimeters or as a percentage of the nozzle size. Proper line width helps maintain accuracy and strength while avoiding gaps or overlapping lines.
Read more: [Line Width Settings]
Seam Settings
Every print has a visible seam where each layer begins and ends, unless you’re using spiral vase mode. By adjusting seam settings, you can minimize that mark and get a smoother surface finish without extra sanding or post-work.
Read more: [Seam Settings]
Precision
Precision settings let you fine-tune the accuracy of your prints. You can adjust gap closing, resolution, arc fitting, XY dimensions, elephant foot correction, and Z height to get perfect edges and clean details.
Read more: [Precision]
Ironing Settings
Ironing is exactly what it sounds like. It’s the process of reprinting the final top layer at a slower speed to smooth out any small bumps. The right ironing settings give your print that professional, polished finish.
Read more: [Ironing]
Wall Generator
Wall generator settings control how the inner and outer walls of your model are printed. You can manage factors like wall transition angles, filter margins, and distribution counts. Properly tuned wall generation ensures solid structure and smooth surfaces inside and out.
Read more: [Wall Generator Settings]
Wall and Surface Settings
This module gives you more detailed control over wall behavior and print order. You can define inner and outer wall parameters, decide whether to print infill first, and optimize wall loop direction. These adjustments directly impact both strength and appearance.
Bridging
Bridging is the technique that allows your printer to span gaps without drooping filament. Orca Slicer makes this easier with adjustable controls for bridge flow rate, density, and thickness. You can also reduce filament sagging and perfect the top layer finish.
Overhangs
Printing overhangs requires balance between cooling and extrusion. In Orca Slicer, you can control overhang walls, maximum angles, and thresholds to keep your prints strong and well-shaped without deformation.
Strength Settings
Dimensional accuracy and surface finish are essential, but strength and durability matter just as much. These settings help you create prints that not only look great but also hold up under use.
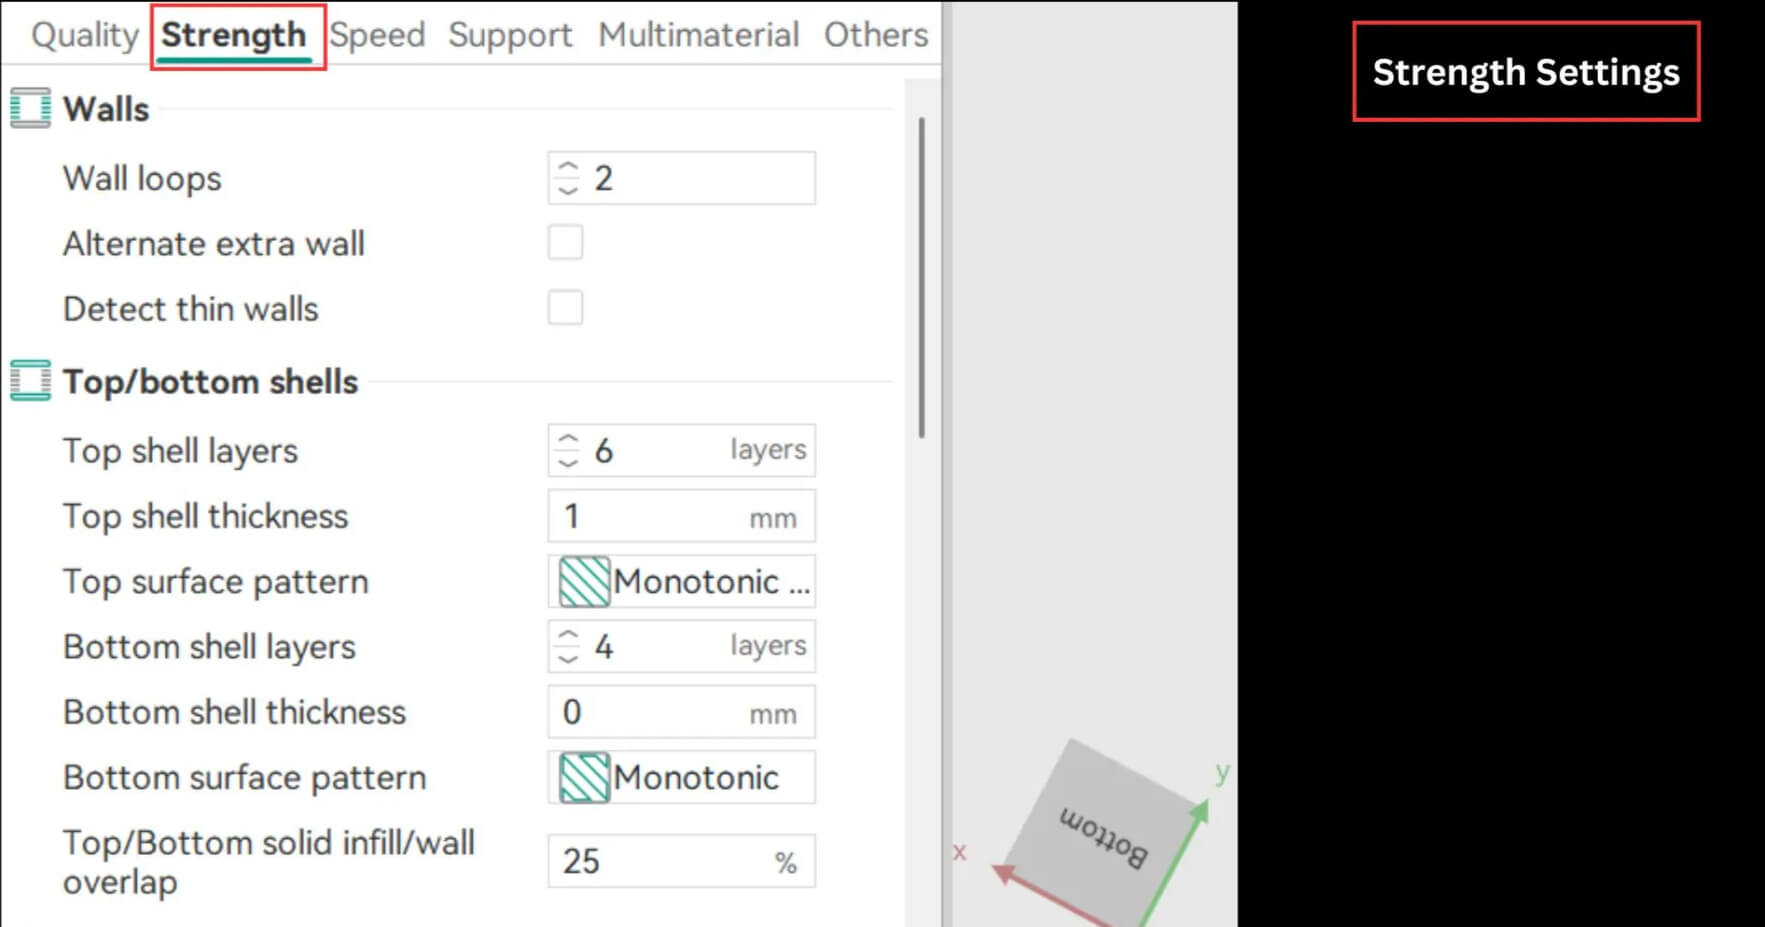
Walls
Walls form the outer shell of your print. Using Orca Slicer, you can tweak wall count, adhesion strength, and print speed to improve durability. You can detect wall loops, fix thin walls, and even add extra layers for better reinforcement.
Top and Bottom Shells
These settings determine how thick and dense your top and bottom layers are. You can adjust shell count, overlap, surface pattern, and density to get the perfect balance between strength and material use. Orca Slicer includes all these options in its Strength Settings panel.
Infill
The infill is the inner structure that supports your model. Orca Slicer lets you control infill density, overlap, gap filling, and anchor points. By adjusting these settings, you can make your prints stronger without wasting filament.
Fill Patterns
Here, you choose the pattern used for infill layers. Different patterns offer different balances of strength, flexibility, and speed. Select the one that fits your project’s needs and materials.
Template Metalanguage for Infill Rotation
This feature lets you define the rotation and direction of your infill. From simple angle adjustments to complex templates, you can fully customize how your infill layers align within the model.
Advanced Strength Settings
Advanced strength settings give you deeper control. You can align infill direction to the model, set bridge infill alignment, minimize sparse infill, and detect narrow internal solids. These options help fine-tune strength and efficiency.
Speed Settings
Speed settings define how fast your printer operates at each stage. Getting them right improves print time without compromising quality.
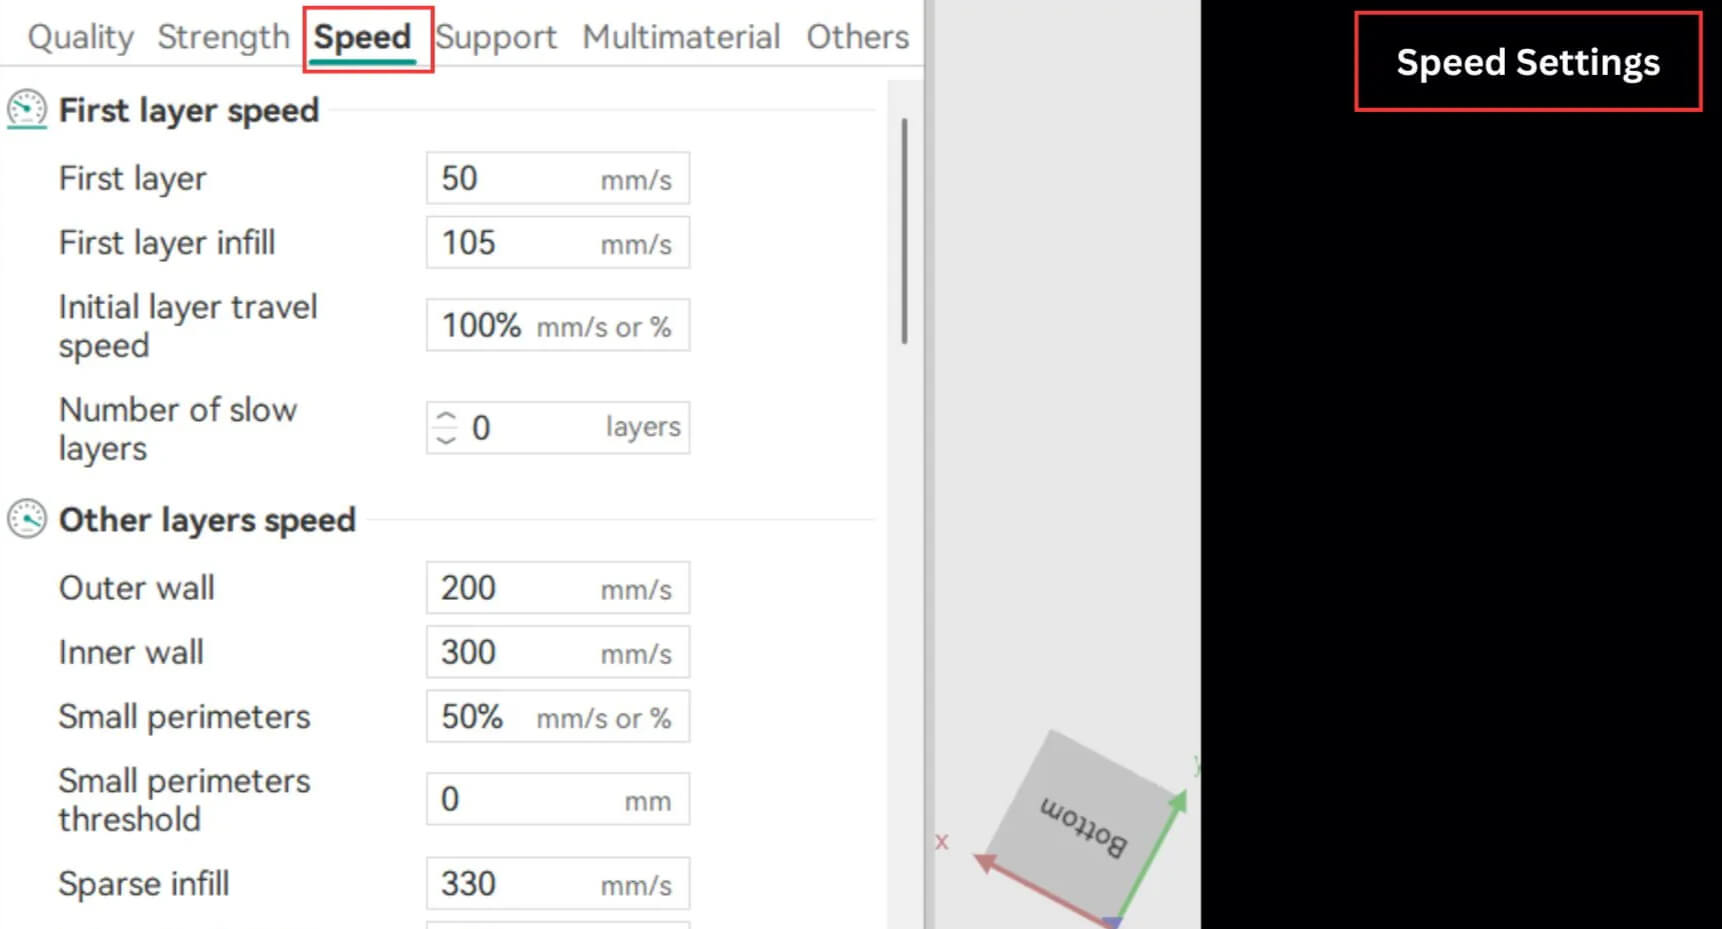
Initial Layer Speed
The first layer should always print slower to ensure proper adhesion to the bed. A steady, slower initial speed creates a solid foundation for the rest of the model.
Other Layer Speeds
After the first layer, you can adjust speeds for inner and outer walls, infill, and travel movements. Balancing these speeds helps you maintain print quality while keeping the process efficient.
Overhang Speed
You can set slower speeds specifically for overhangs, depending on the angle, to prevent drooping or deformation.
Travel Speed
Travel speed refers to how fast the print head moves when it’s not extruding. Setting this correctly helps reduce stringing and avoid missed steps or vibration marks.
Acceleration
Acceleration controls how quickly the printer reaches its set speed. Orca Slicer lets you override firmware acceleration values if needed, giving you finer control over smooth motion and cornering.
Jerk (XY)
Jerk determines how fast the printer changes direction. Adjusting jerk settings can reduce vibrations and improve the precision of sharp corners and detailed areas.
Advanced Speed Settings (Extrusion Rate Smoothing)
High-speed printing with large flow rates can be tricky. Extrusion Rate Smoothing (ERS) helps maintain consistent material flow during rapid acceleration, preventing bulges or gaps in your print.
Support Settings
Support structures make complex prints possible. Orca Slicer offers powerful options for controlling how supports are generated and removed.
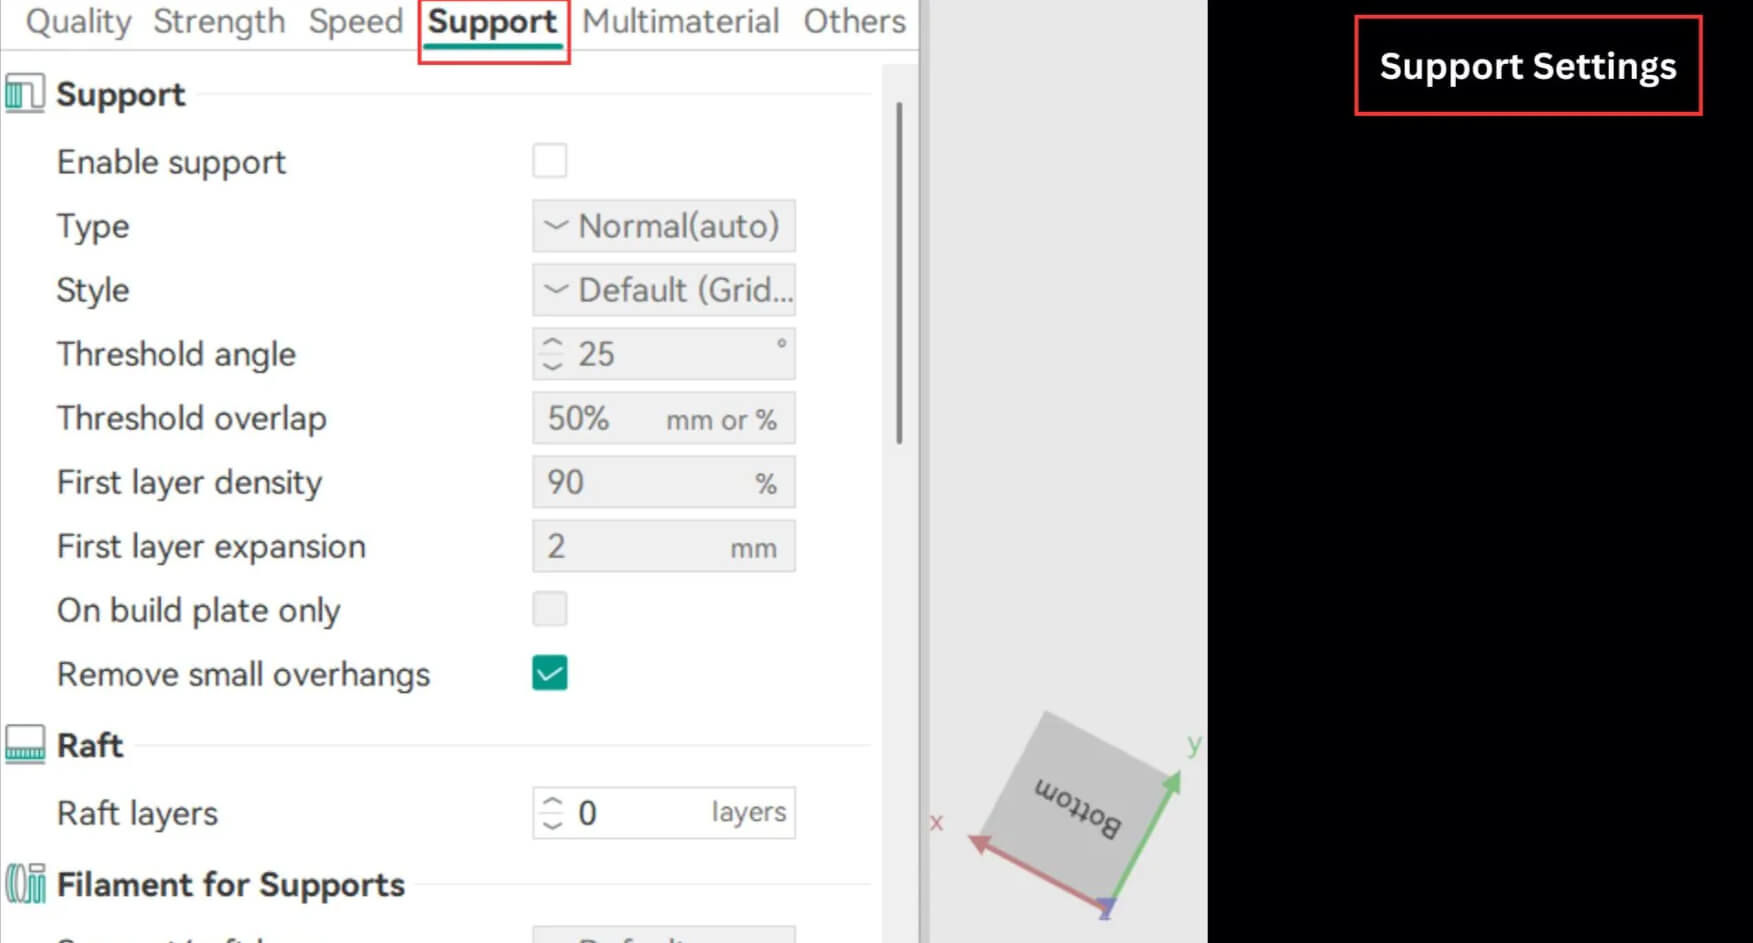
Support
Supports stabilize overhangs and complex shapes. Fine-tuning them ensures the structure stays intact while still being easy to remove after printing.
Raft
A raft acts as a foundation between your print and the bed, improving adhesion and helping prevent warping.
Support Filament
These settings let you define the material type used for supports. You can reduce waste by adjusting the base, interface, and density of the support structure.
Support Ironing
Just like main-layer ironing, support ironing smooths the top of support layers for cleaner contact points between the support and the model.
Advanced Support Settings
This section gives you control over Z distance, support wall loops, base pattern spacing, layer expansions, and more. Fine-tuning these parameters improves both support strength and print cleanup.
Tree Supports
Tree supports branch out from a single stem to hold overhangs efficiently. In Orca Slicer, you can control branch diameter, distance, density, and angle to make supports lighter and easier to remove.
Multimaterial Settings
Printing with multiple materials can elevate your projects but requires precise calibration. Orca Slicer gives you the tools to handle it with ease.
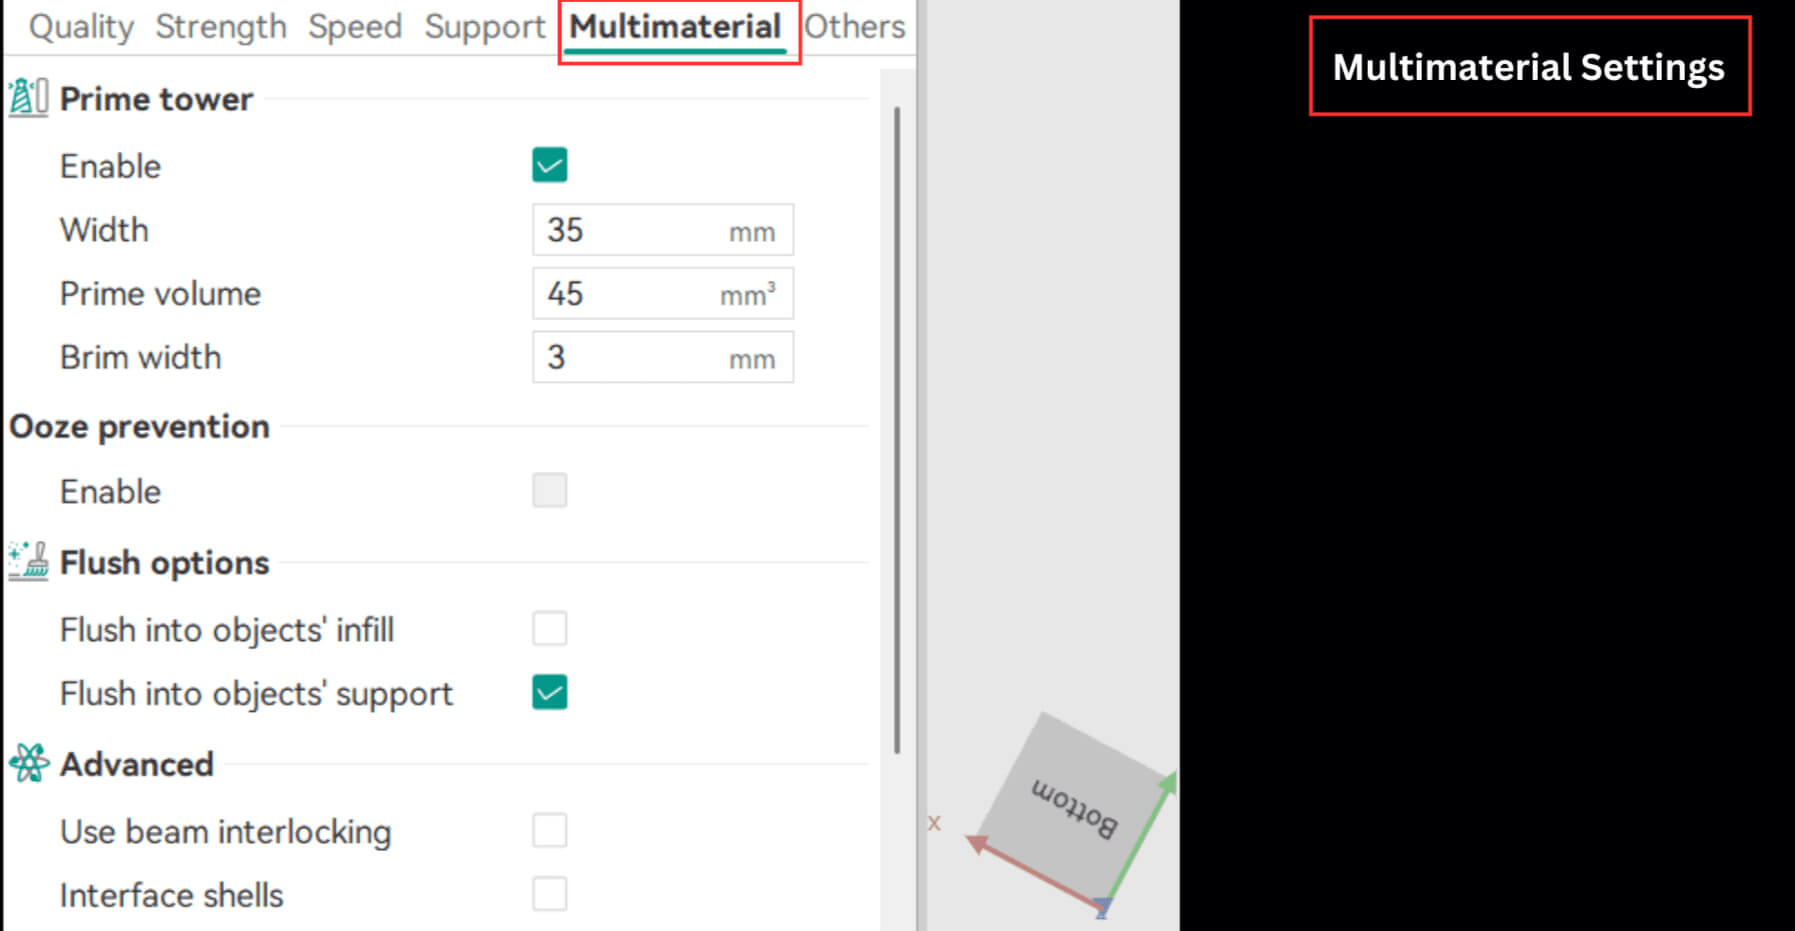
Prime Tower
The prime tower stabilizes pressure inside the nozzle during material changes. Set the tower’s size and temperature to prevent cross-contamination and ensure smooth transitions.
Filament of Features
For multimaterial prints, you can define separate filament settings for walls, infills, solid infills, and wipe towers. This control helps maintain consistent strength and color separation.
Ooze Prevention
Inactive extruders can sometimes leak material. By lowering their temperature when not in use, you can stop oozing and keep your prints clean.
Flush Options
Flushing clears the nozzle before printing resumes. You can adjust these settings to purge during infill or before layer changes, ensuring a clean color transition while reducing waste.
Advanced Settings
Advanced multimaterial options let you manage complex geometries like interlocking beams, shells, layer depths, and internal structures.
Others Settings
The “Others” section in Orca Slicer includes tools that add finishing touches and extra control to your print workflow.
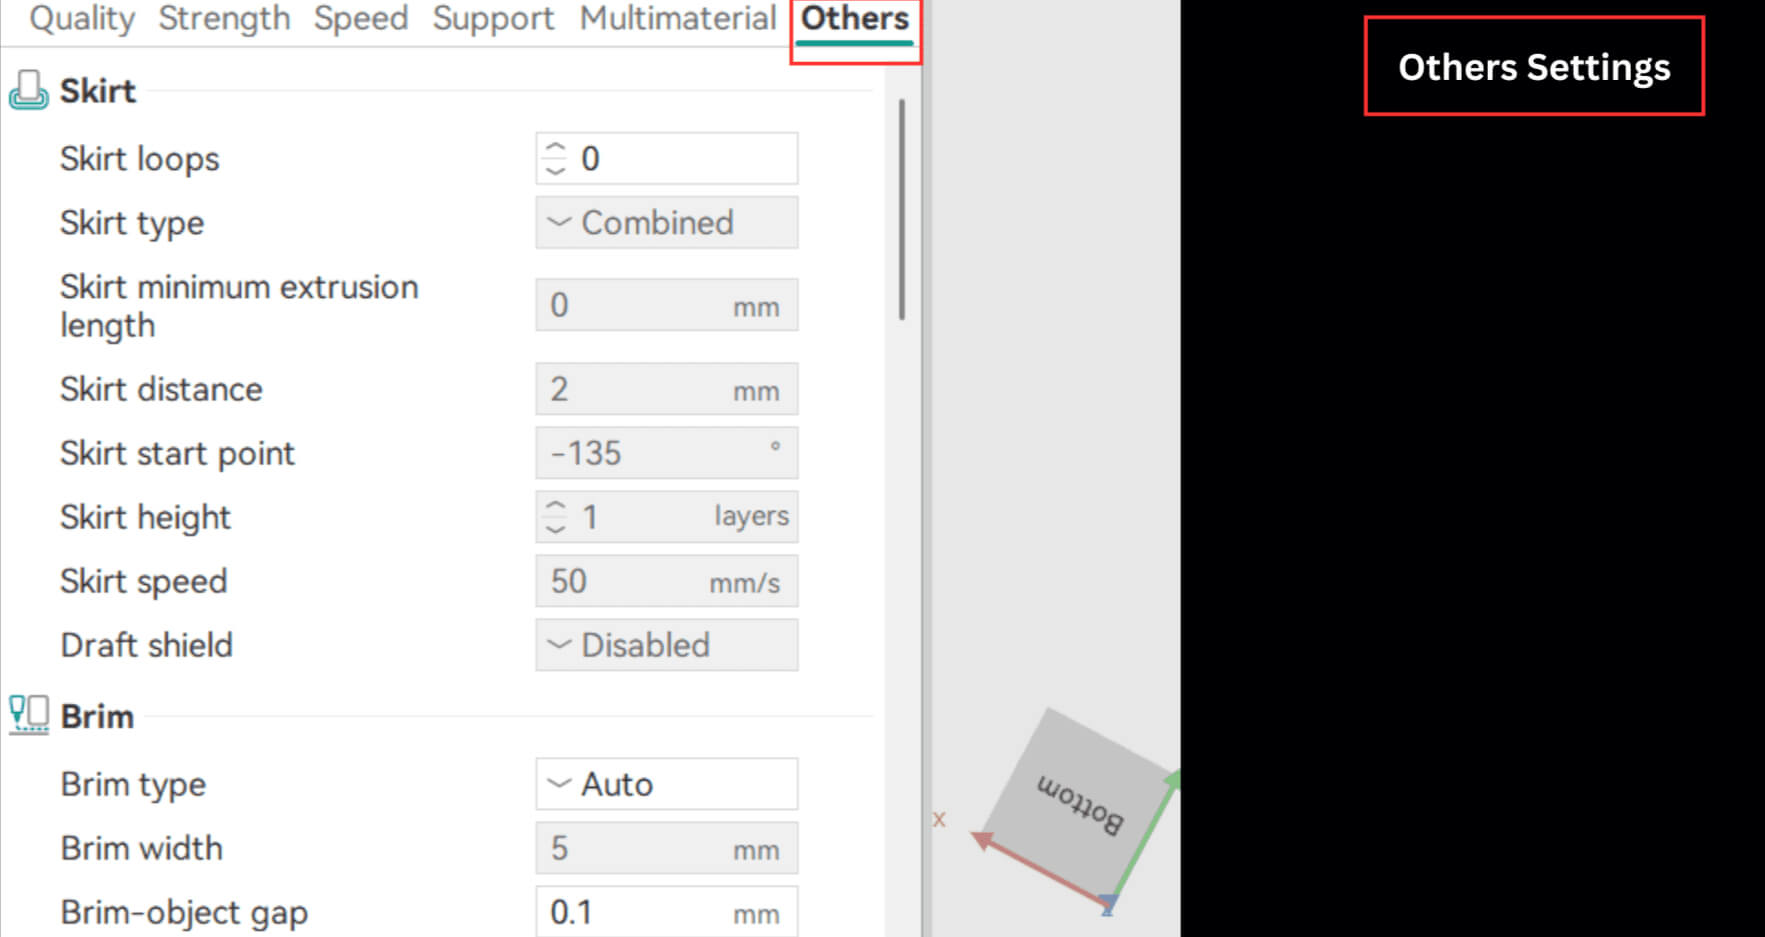
Skirt
A skirt is a line printed around your model to prime the nozzle and stabilize extrusion before the actual print starts.
Brim
A brim is a flat layer printed around the model’s base to improve adhesion and prevent edge lifting.
Special Mode
Special modes allow you to change how slicing and printing behave, including layer order and spiral vase mode.
Fuzzy Skin
Fuzzy skin settings create textured surfaces on your prints. This can hide imperfections or add a unique feel to your model, though it may increase print time.
G-Code Output
In this section, you can control how G-code files are generated. The right settings ensure your file remains compact, readable, and fully compatible with your printer.
Post Processing Scripts
Post-processing scripts let you add extra instructions after G-code creation, automating specific finishing tasks.
Notes
You can save important reminders, settings, or print observations here as personal notes directly inside Orca Slicer.
Preparation
Before you start printing, it’s important to get your model ready. Think of this step as setting the stage for everything that follows. A well-prepared model means smoother slicing, cleaner layers, and fewer surprises once the print starts.
STL Transformation
This section lets you convert your design files into a format your printer understands. If you’re using STEP files, you can easily turn them into STL files, which Orca Slicer uses for accurate slicing and faster processing. This conversion helps preserve your model’s geometry so your prints come out crisp, consistent, and ready to go.