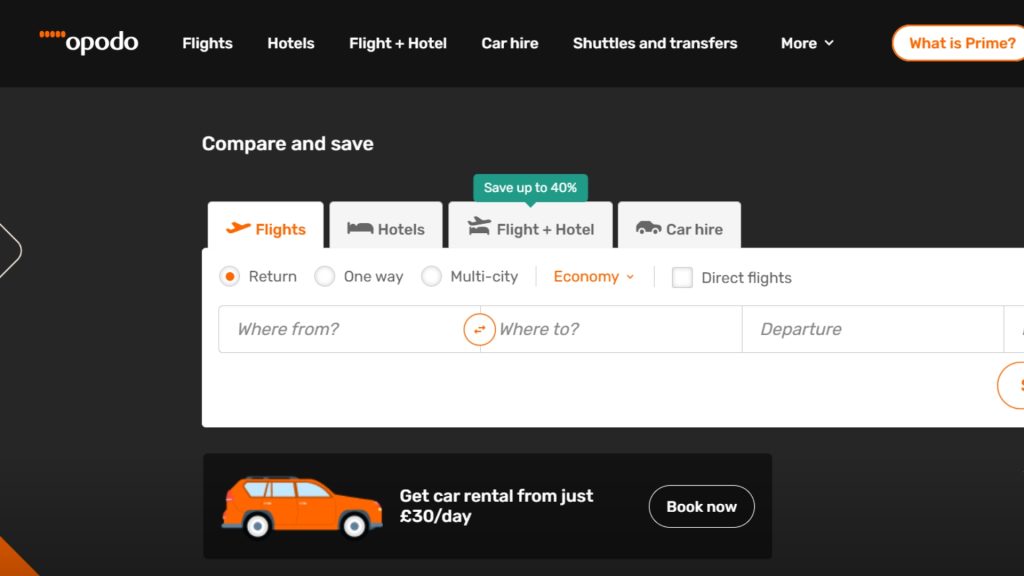
If you’ve signed up for Opodo Prime, you probably did it for the perks—exclusive deals on flights, discounts on hotels, and access to a travel subscription service that promises savings. But sometimes, the savings don’t stack up. Whether you’ve stopped traveling or just don’t want another automatic renewal sneaking up on your credit card, figuring out how to cancel your Opodo Prime subscription can get tricky.
Let’s break it down and clear up the most common questions about Opodo Prime cancellation policies, the cancellation process, refunds, and more.
What Are Opodo Prime’s Cancellation Policies?
Opodo Prime starts with a trial period—usually 30 days—after which it becomes a paid annual subscription plan. If you cancel during the trial, you won’t be charged. But if you don’t cancel in time, your card is charged the full subscription cost for the year. No monthly option here—Opodo Prime only offers yearly billing.
The key point? Once the trial ends and the subscription renews, there’s no guarantee of a refund. That said, if you haven’t used any Prime benefits—like discounts or deals—Opodo may consider a refund on a case-by-case basis.
The cancellation option isn’t always easy to find, and the terms don’t always appear clearly in your booking confirmation email. That’s why many customers complain the cancellation process feels frustrating or even hidden.
Check this out next : Is StockX Legit or a Scam? What Every Sneakerhead Should Know.
How Can You Cancel Opodo Prime Subscription on Your Own?

To cancel your Opodo Prime subscription through the platform, here are the steps:
- Visit www.opodo.com and log into your account using your email address and password.
- Navigate to “Prime subscription” under “Account” or “My Trips.”
- Scroll to find the subscription details.
- Look for the cancellation option (it may say “Manage my Prime” or something similar).
- Follow the steps to submit your cancellation request.
You should receive an email confirmation of your cancellation. If you don’t, keep screenshots or written proof—you might need that for customer service follow-up.
Cancelling Opodo Prime Subscription Services By Phone
Want to speak to a human? You can try Opodo Prime’s customer support phone number. Their call centers typically operate between 09:00 and 17:00, Monday to Friday, though hours may vary.
When you call, have your email address, booking ID, and the last four digits of your credit card ready. Ask to speak directly to someone in the Customer Service / Administration department, since general support may not handle Prime cancellations.
Tip: Be patient. Companies like Opodo sometimes route these calls through third-party services, and processing times can be slow.
Cancel Opodo Subscription on Your iPhone or iPad
If you signed up through the Opodo app using Apple’s billing system, cancellation works differently. Follow these simple steps on your iPhone or iPad:
- Go to Settings and tap your Apple ID.
- Select “Subscriptions.”
- Tap “Opodo Prime” from the list.
- Tap “Cancel Subscription” and confirm.
Since Apple manages the billing, Opodo’s own platform can’t process cancellations in these cases. And yes, cancelling through Apple usually avoids unexpected renewal charges on your card.
You might also like : How to Cancel Your Ulta Order Before It Ships – Quick Guide for Customers.
What is the Term of Notice for My Subscription with Checkout?
This part gets a bit nuanced. Opodo doesn’t publicly specify a strict notice period. But based on user reports and their T&Cs, if you’re still in your trial period, you can cancel anytime before it ends—usually on day 29—to avoid being charged.
Once you’re in a paid period, the subscription plan renews automatically every year. To avoid charges, cancel at least 24–48 hours before the renewal date.
Always double-check the invoice by email or the membership welcome email for your current billing period and renewal schedule. That’s your clearest guide to avoid fees.
Can I Get a Refund for Opodo Prime?
Here’s where things get murky. Opodo’s policy states that once your Prime subscription has renewed, it’s generally non-refundable. However, if you didn’t use the service—no flights booked, no hotel deals applied—you can try contacting customer service to request a refund.
Send a cancellation letter or cancellation request to Opodo’s official support email or their registered address: Customer Service Calle de Manzanares nº 4, Madrid, Spain. Include:
- Full name
- Email address linked to your account
- Last 4 digits of your card
- Booking reference (if applicable)
- A short explanation of why you’re requesting a refund
Some users have had luck getting refunds by escalating through their card provider or issuing a chargeback—especially when they didn’t knowingly agree to the subscription after the trial.
Final Thoughts
Cancelling Opodo Prime might not be as straightforward as clicking a button, but it’s doable. Be mindful of your trial period, keep an eye on your renewal dates, and don’t wait until the last second. Whether you’re managing your subscription service via the app, the platform, or by contacting customer support, being proactive can help you avoid unwanted subscription charges.
And if you’re one of the many customers wondering why travel companies make this so hard—you’re not alone. Just be persistent, save every email, and keep a close watch on your credit card statements. Because really, who wants to pay for a travel subscription they’re not using?
Trying to cancel a subscription? Gadzup walks you through it.
